Bracket Only – Does not include hardware to assemble and secure brackets (see Full Kit below)
——————–
Full Kit – Includes all hardware required to mount bracket and prop.
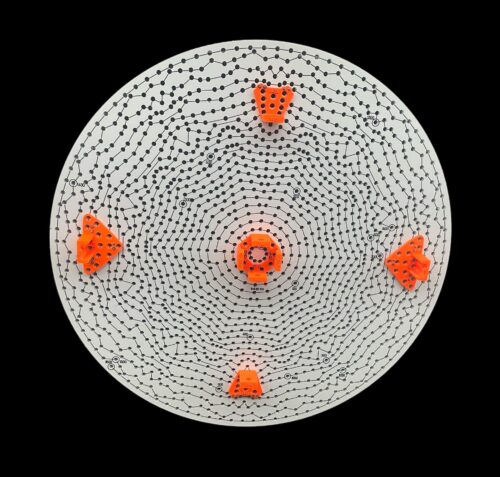
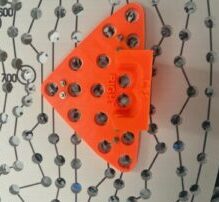
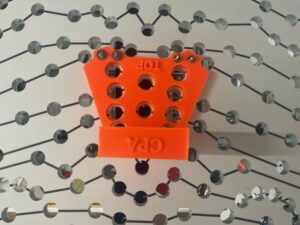
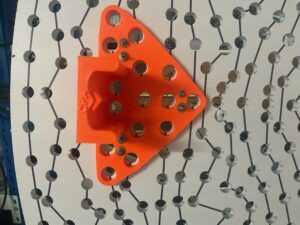
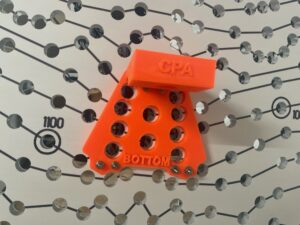
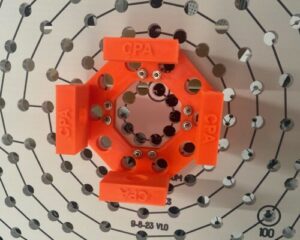
Because of the limited space to design mounts to fit along the centre section of the Click Click Boom, the mounts are designed to be both zip tied and or bolted to the prop. It is essential that the mounts be bolted through to the front of the prop to add sufficient strength.
- 2 lengths of Aluminium (or equivalent) 16mm x 1.6mm 530mm long.
- 1 length of Aluminium (or equivalent) 16mm x 1.6mm 830mm long.
- 4 S/S (or equivalent) 12 gauge x 19mm long self tapping screws
- 4 S/S (or equivalent) M4 x 60mm with washers and nuts.
- 32 S/S M4 x 30mm with washers and nuts. (make sure that one of the washers is larger than the other as this washer will go on the front of the prop)
While the prop may look symmetrical at first glance, there is a specific top, bottom, left and right as the pixel patterns are not the same at each of the points. If your prop does not have the wiring diagram printed on the back side, you will have to pay very close attention to the correct orientation using the xLights model. After the holes are made on the coro you can zip tie the mounts to the prop. Insert the Aluminium into the mounts and mark where the holes need to be drilled for inserting the bolts through the mounts. If your prop was slit in half for shipping, it’s always best to do run practice. At each post you will insert the bolt from the top of the mount and tighten it against the embedded nut at the bottom of the mount. Just careful not to over-tighten or you could crack the mount.
Only logged in customers who have purchased this product may leave a review.
Related products
-

Mr. Chill – Professional Triers Mascot
0 out of 5$96.00 GST inclusiveEarn up to 96 points.Select options This product has multiple variants. The options may be chosen on the product page -
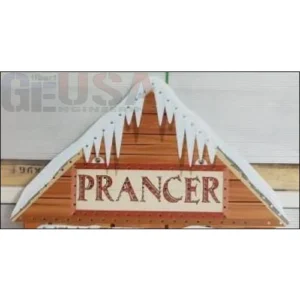

IMPRESSION Reindeer Stable Toppers
0 out of 5$114.00 GST inclusiveEarn up to 114 points.Select options This product has multiple variants. The options may be chosen on the product page -
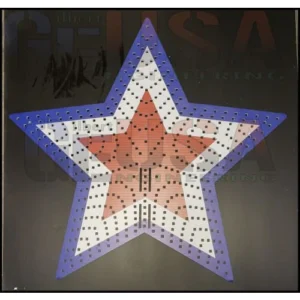

IMPRESSION Star 36-370 Tree Topper
0 out of 5$127.00 GST inclusiveEarn up to 127 points.Select options This product has multiple variants. The options may be chosen on the product page -

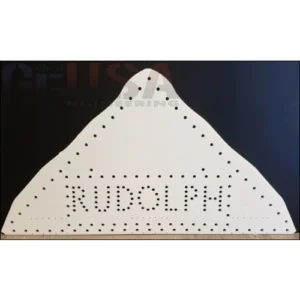
Reindeer Stable Toppers
0 out of 5$57.00 GST inclusiveEarn up to 57 points.Select options This product has multiple variants. The options may be chosen on the product page

Reviews
There are no reviews yet.