Rosa Wreath Mounting Bracket Detailed Guide
**Purpose and Design**:
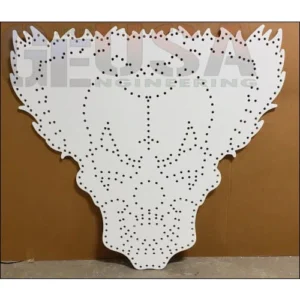
- Specifically designed to fit within the centre sections of the Rosa Wreath, offering a secure and professional installation.
- Compact design accommodates limited space while maintaining aesthetic appeal.
- Can be attached using zip ties or bolts for flexibility; bolting is recommended for maximum strength and durability.
**Orientation and Alignment**:
- The Rosa Wreath has a specific top, bottom, left, and right due to variations in pixel patterns at different points.
- Proper orientation is critical for achieving the intended lighting effects and overall design.
- Use the xLights model to verify correct alignment if a wiring diagram is not printed on the back of the prop.
- Take extra care during this step to avoid misalignment, which could disrupt the display’s functionality.
**Installation Process**:
**Preparation**:
- Identify the correct orientation of the wreath using the xLights model or wiring diagram.
- Mark the positions on the Corflute material where the mounting brackets will be installed.
**Securing the Brackets**:
- Attach the brackets to the prop using zip ties for initial placement.
- Use aluminium Tube for added durability and stability; insert them into the mounting brackets.
**Drilling and Bolting**:
- Mark the locations for drilling holes once the rods are in place.
- Drill carefully and insert bolts through the top of the mounts.
- Tighten bolts against the embedded nut at the bottom of each mount, avoiding over-tightening to prevent cracking.
**Practice Assembly**:
- If the prop was shipped in two halves, perform a practice assembly to ensure all components align properly.
- This step helps prevent errors and ensures a smooth final installation.
**Material and Quality**:
- Made from durable PTEG material, which is resistant to wear and tear.
- Manufactured with a 30% infill for strength while maintaining a lightweight design.
- 3D printed on-site for consistent quality and precision.
**Tips for Success**:
Use sturdy aluminium Tube (we recommend 16mm OD thick wall) for added strength and long-lasting stability.
Avoid over-tightening bolts, as this could cause the brackets to crack and compromise the setup.
Double-check the alignment using the xLights model to ensure proper orientation of the pixel patterns.
Conduct a test assembly if the prop was shipped in two halves to ensure all parts fit together seamlessly.
**Key Considerations**:
- Proper alignment and secure attachment of the brackets are essential for stability and visual appeal.
- Follow the installation steps carefully to ensure a professional and reliable setup.
- A practice run can save time and prevent potential errors during the final assembly.
**Conclusion**:
- The Rosa Wreath Mounting Bracket is a robust and versatile solution for securely mounting your wreath, ensuring both strength and precision.
- Its durable PTEG construction, flexible installation options, and thoughtful design make it an essential component of any Rosa Wreath display.
- By following these guidelines, you’ll achieve a secure, visually stunning, and professional-quality setup for your decorative or lighting display.
Only logged in customers who have purchased this product may leave a review.


Reviews
There are no reviews yet.